
Many of you have some experience with existing airsoft masks on the market. These masks, though functional, often prove too big, clunky and bulky. They do not allow you to properly align your face with the sights on your gun or completely prevent you to aim down sight.
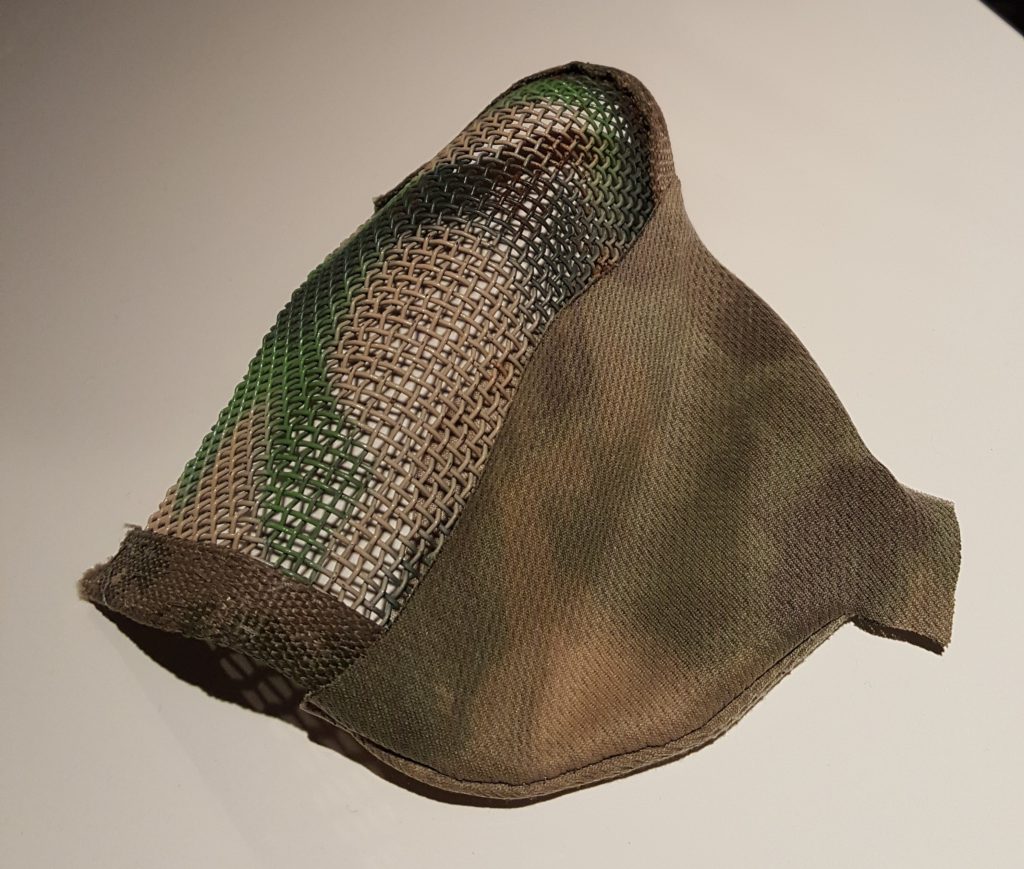
In an effort to make a more functional and practical facial mask, we set out to make our own design. The end result looks like the picture below:
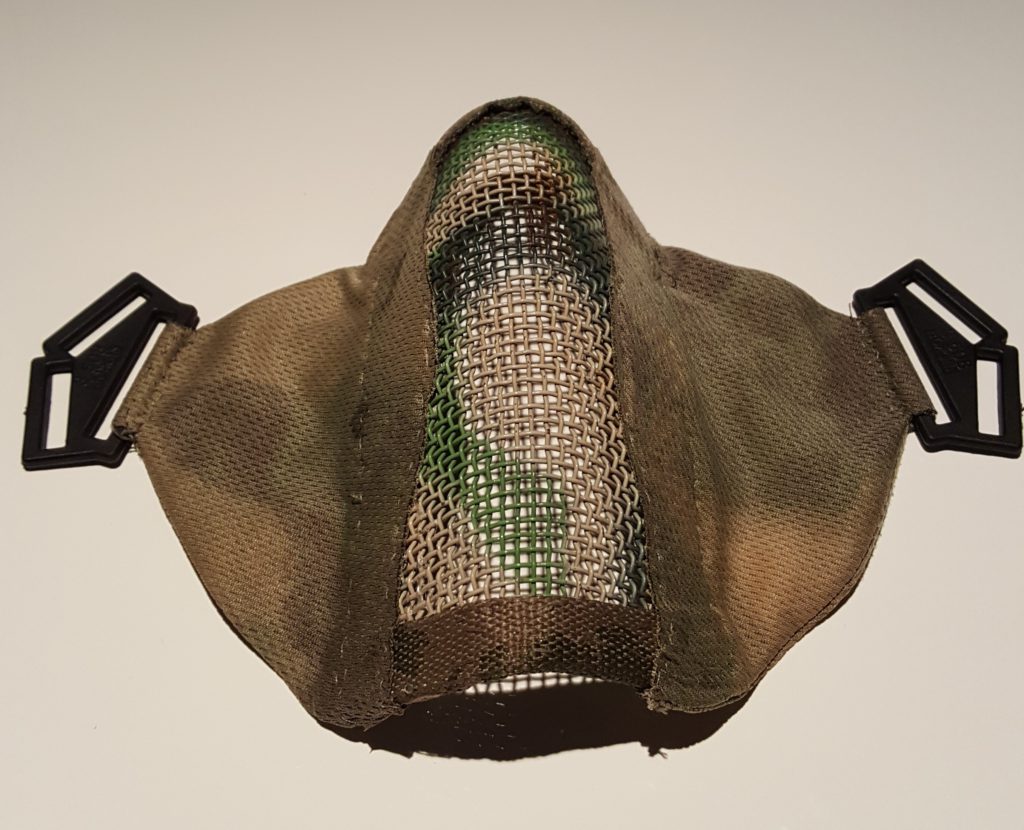
Below I will try to explain how to build one of these masks in full detail. Feel free to comment at the bottom of this page with any questions.
Materials needed:
- Old full mesh mask you don’t need / use anymore.
- Fabric in camo pattern you like (In our case, ATACS FG)
- Some hard fabric in the same camo pattern. (e.g. the material a belt is made from)
Tools needed:
- Computer + Printer + Paper
- Scissors
- Needle + thread (preferably green or brownish colour)
- Nippers (for cutting the metal mesh, Example)
- Fabric glue (Example)
- Some clips to hold the fabric in place
Other needs:
- JPG file of the mask design. Download here.
- Photoshop file of the mask design, which you can edit to your liking. Download here.
Step 1: Cutting the mesh
Let’s begin!
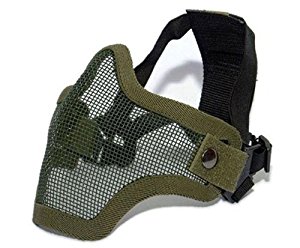
The first step to this project is taking you old mesh mask and cutting away the side panels. I started off the with the mask below.
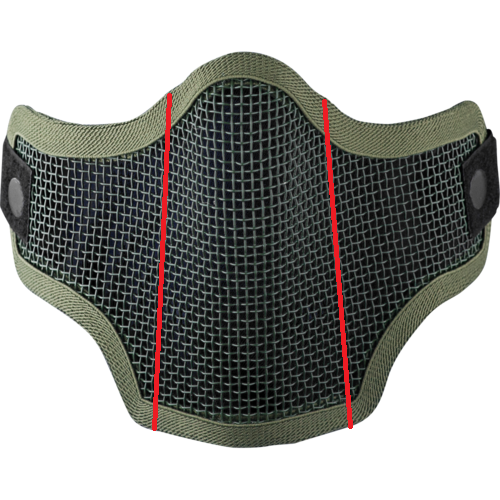
You will effectively want to cut away the side panels as displayed by the red lines below. Also, remove the fabric that is left on the mesh before doing so. This is stretching material that has been GLUED to to mesh, so if you just apply some force and pull it away it should be easy enough.
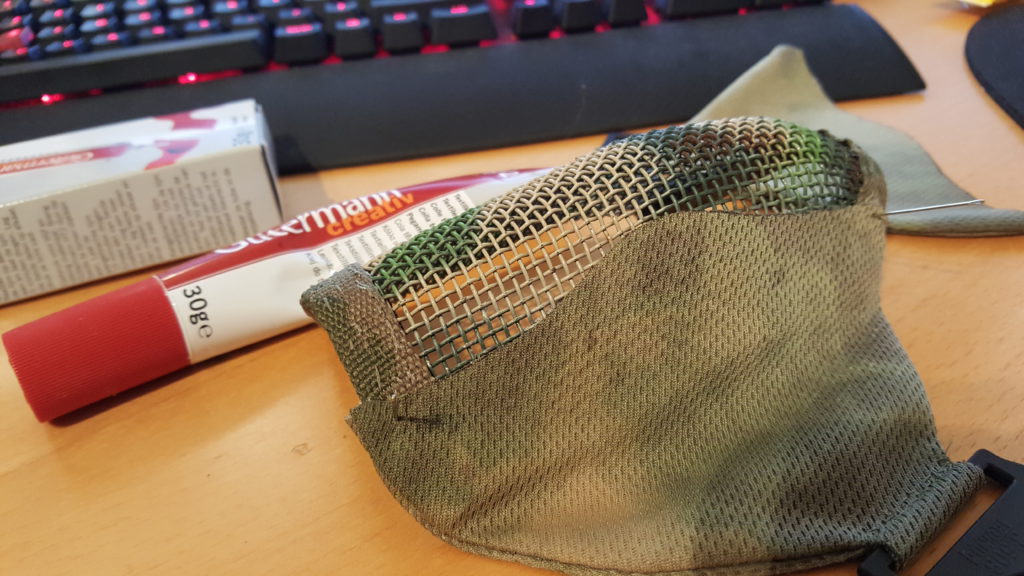
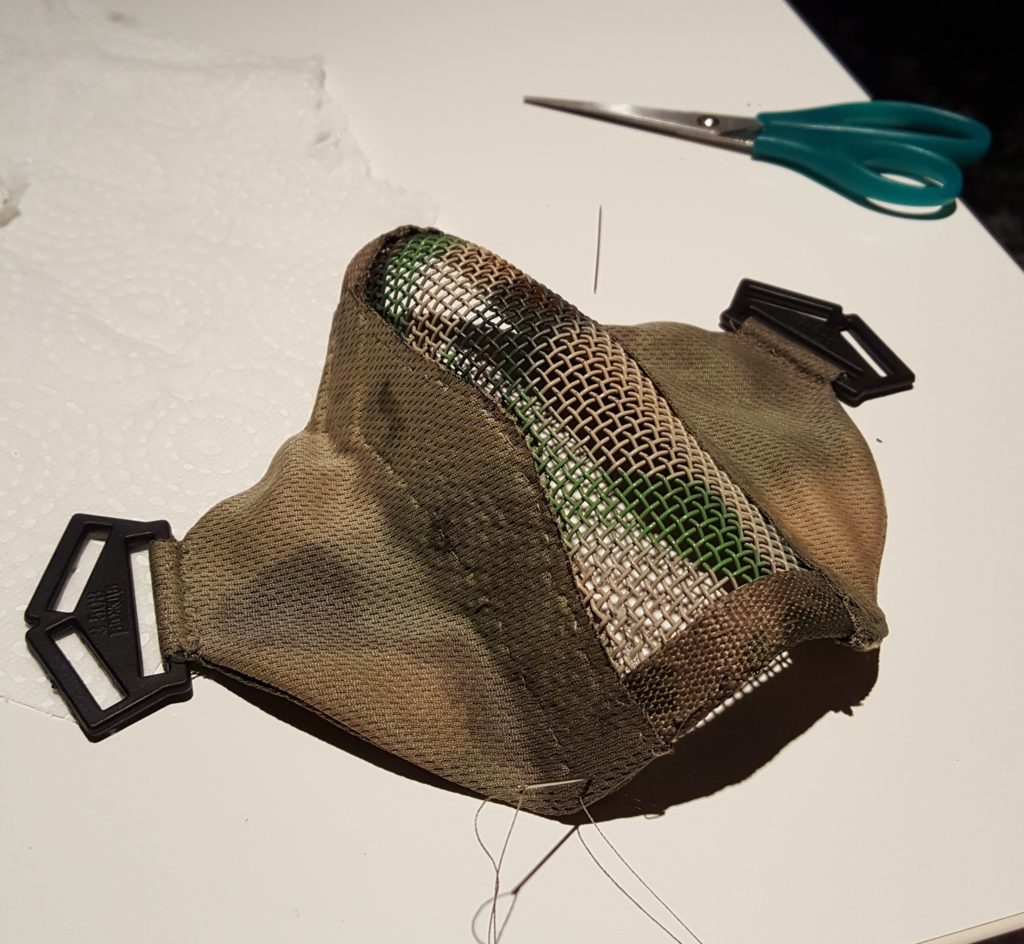
Step 2: Glue & Sew nose and chin protection
Now that the mesh has been cut, you will want to sew a strip of protective fabric around the top and bottom. The reason for this is that it will provide some protection from the sharp metal spikes of the mesh in the areas that touch your face. It will also serve as reference point to attach the side panels and provide additional strength to the construction.
You can first glue them onto the mesh before you start sewing it together. This will keep the fabric in place. Below you can see that I used some clips during the drying of the glue.
![]()


Once this is done, let the glue dry for a day to ensure that it stays in place once you start attaching the side panels.
Step 3: Design, Print & cut
For the next step, you will to print out the design of the side panel on paper. I used photoshop to design these panels to exact size, as you can see below.
![]()
Print out the designs to the FULL SIZE of the orginal. This means your printer should not rescale it. If it does, the design is off an it will NOT WORK.
Once you print out the design, cut it out with some scissors like shown below.
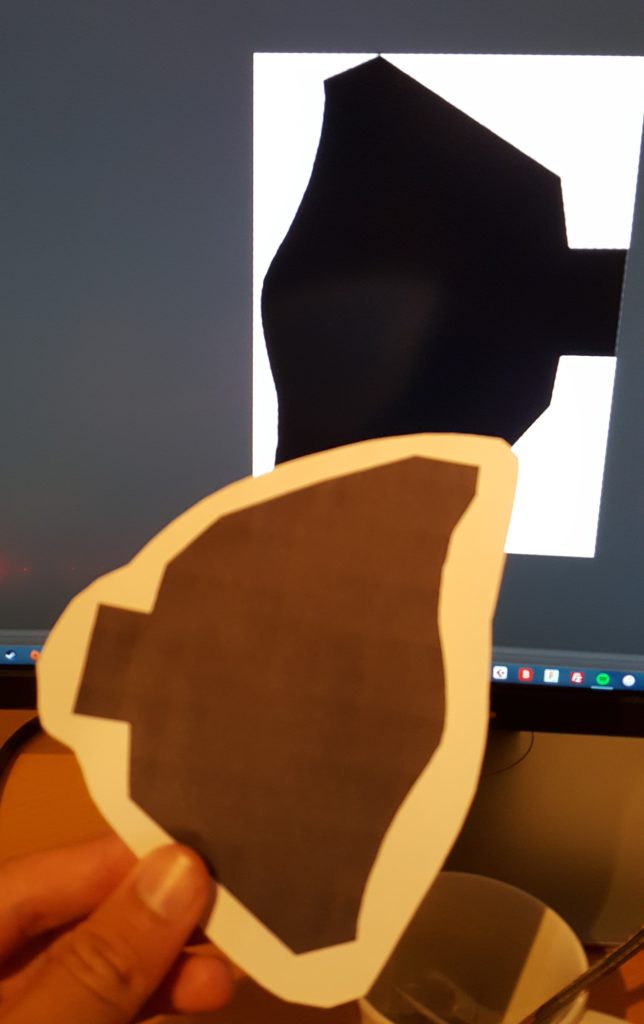
Once it has been cut out completely, you can check if the size is correct by holding it up to the mesh you cut out previously, like below.
![]()
Even though it looks like the paper panel is a bit oversized, this is actually correct. You will need some spacing for it to work once the panels are joined.
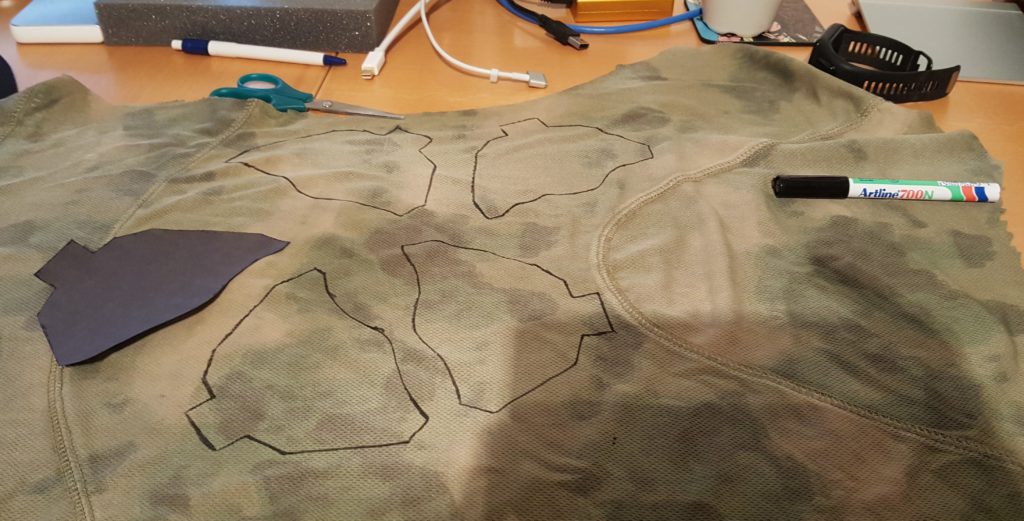
Step 4: Draw the contour onto the fabric
After cutting out the paper panel, it’s time to draw the contour on a piece of fabric. In this case, I used an old ATACS FG T-shirt that I didn’t use anymore.
You will need to draw 4 panels, as there is a front and back side to both the left and right panel. Please notice that if your fabric is different on the front and back (e.g. mine was lighter on the inside.) you will need to flip the paper design upside down for 2 of the panels.
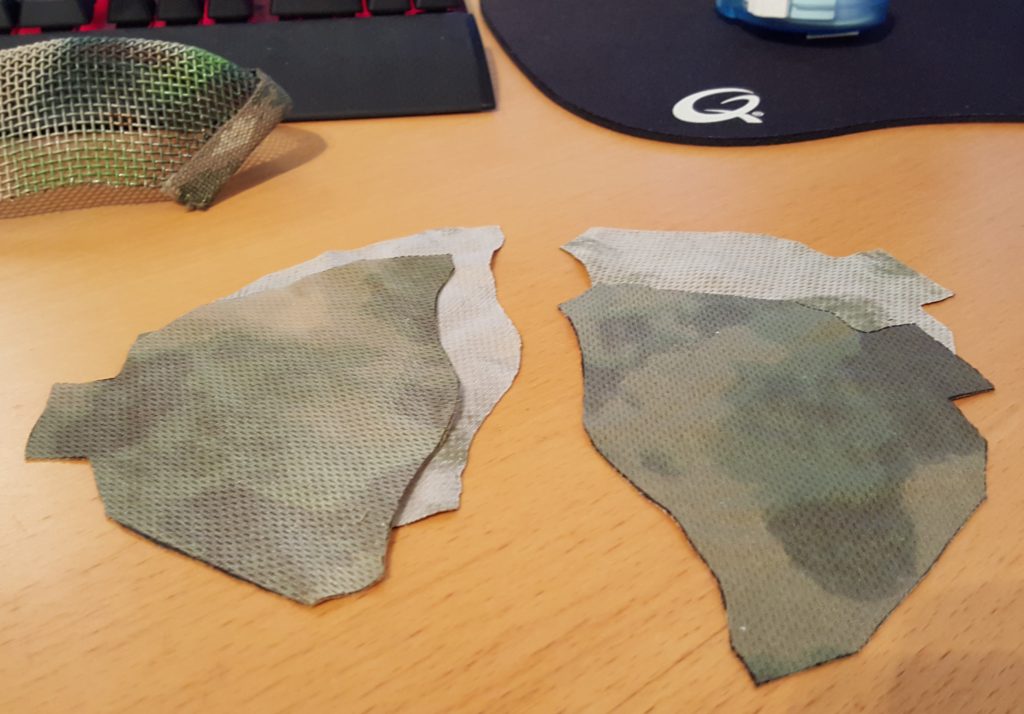
Step 5: Cutting the fabric
Once the contours are drawn, you can carefully cut out all shapes. Make sure you do this correctly, because if a panel is oversized, the design will not work properly.
Below you can see I have cut out the back and front side of each panel. (Notice the lighter colours of “inside” panels.)
Step 6: Joining the panels
The next step will be to sew the panels together. Before you do this, make sure to flip them inside out! Once they are sewn together, you will turn them inside out again. This way, the sewn threading will be on the inside which looks a lot nicer.
You have to saw the lines in red on the picture below, and ONLY those parts.
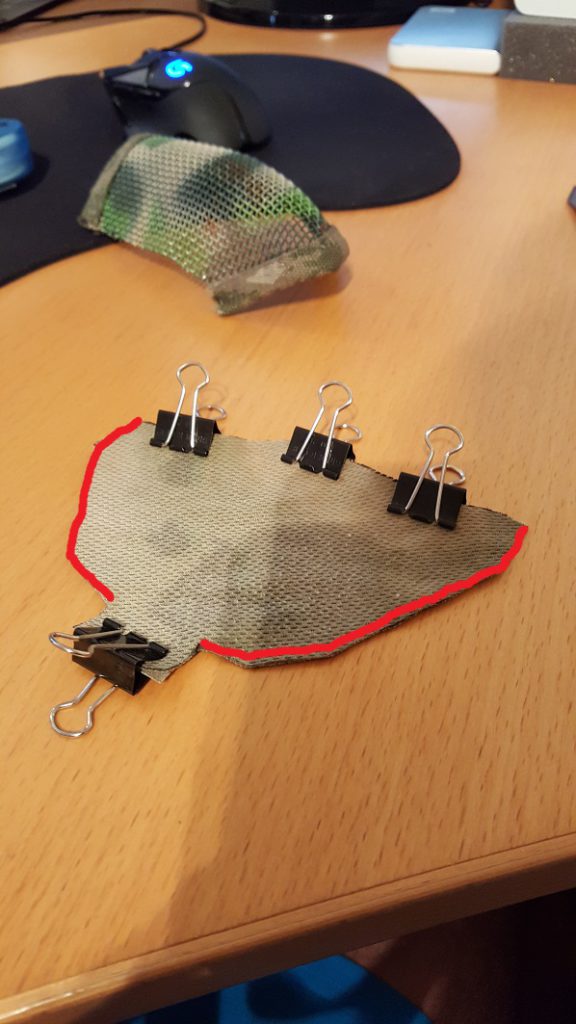
Once you do this for both panels, flip them inside out and fit them onto the mesh to see if they align correctly. See picture below for reference.
Note that you will have to push out the small lip where the clip/buckles will be attached to.
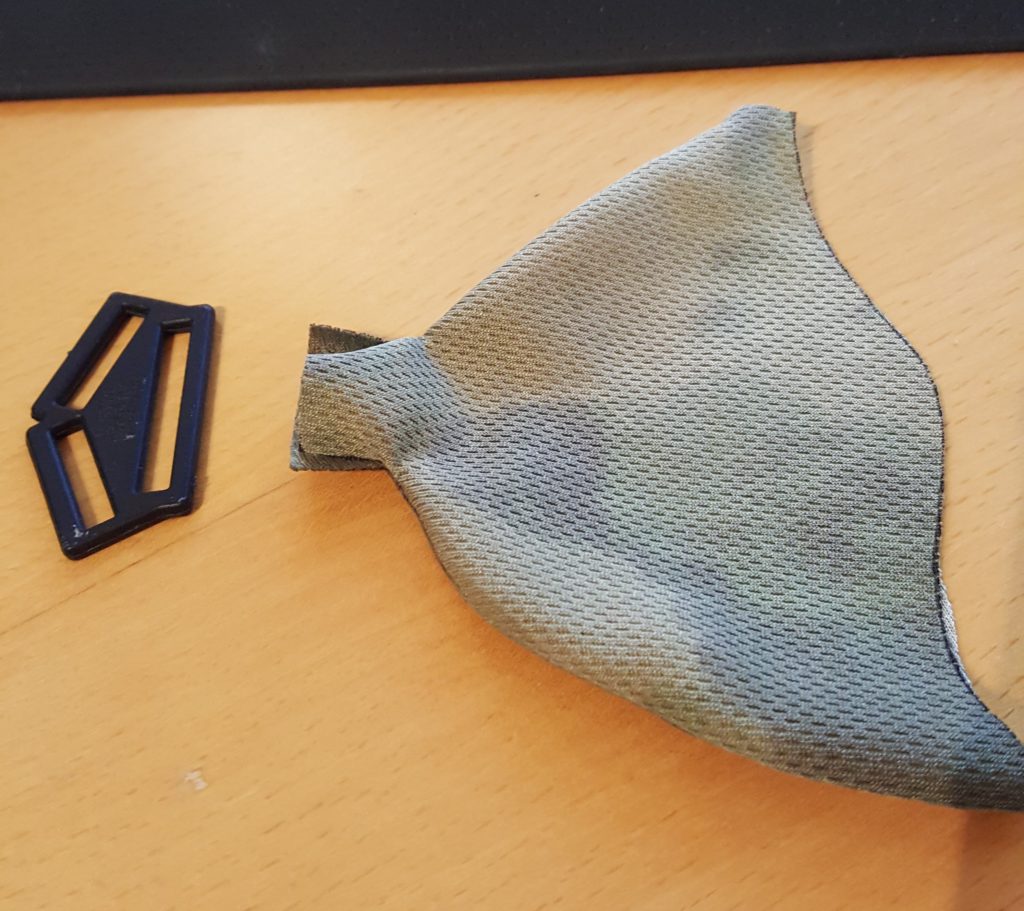
Step 7: Attaching the buckles
Now that we have joined the panels, it’s time to attach the buckle/clip. This buckle will serve as the point to connect mask to our helmet or to some flexible bands that will keep it in place if you put it over your mouth.
There are 2 plastic buckles/clips that came with your old mesh mask. We will use these again. They should fit perfectly with the design.
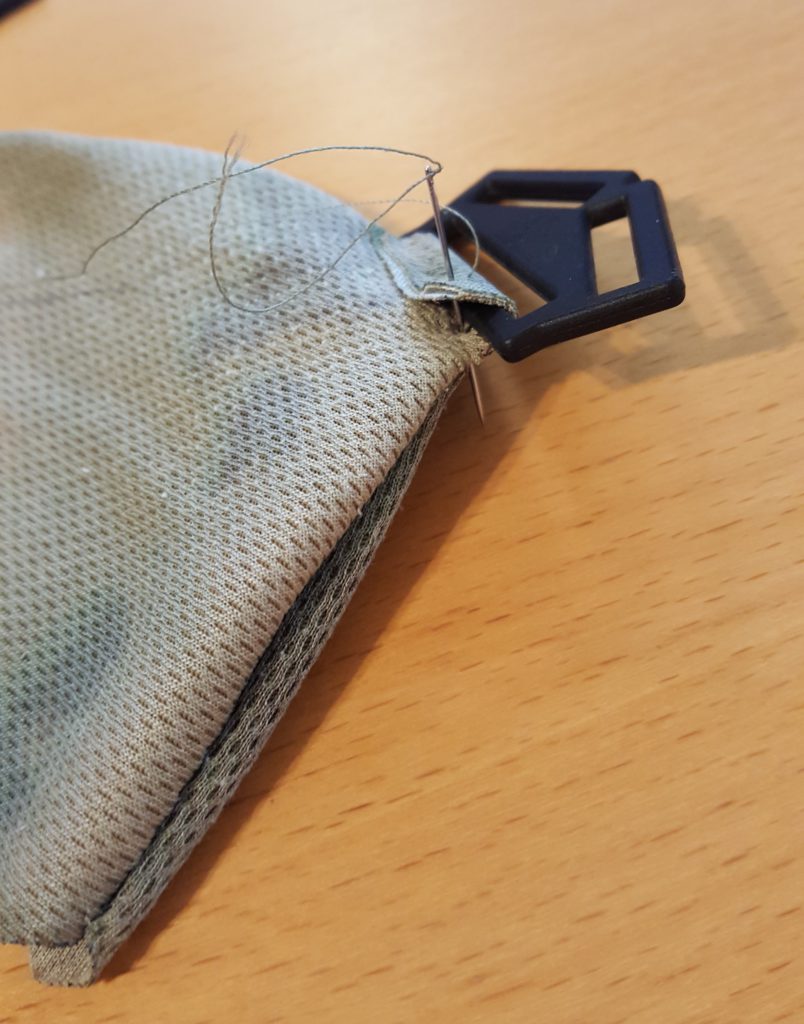
Carefully sew the flap on the side of the panel to the clip like demonstrated below.
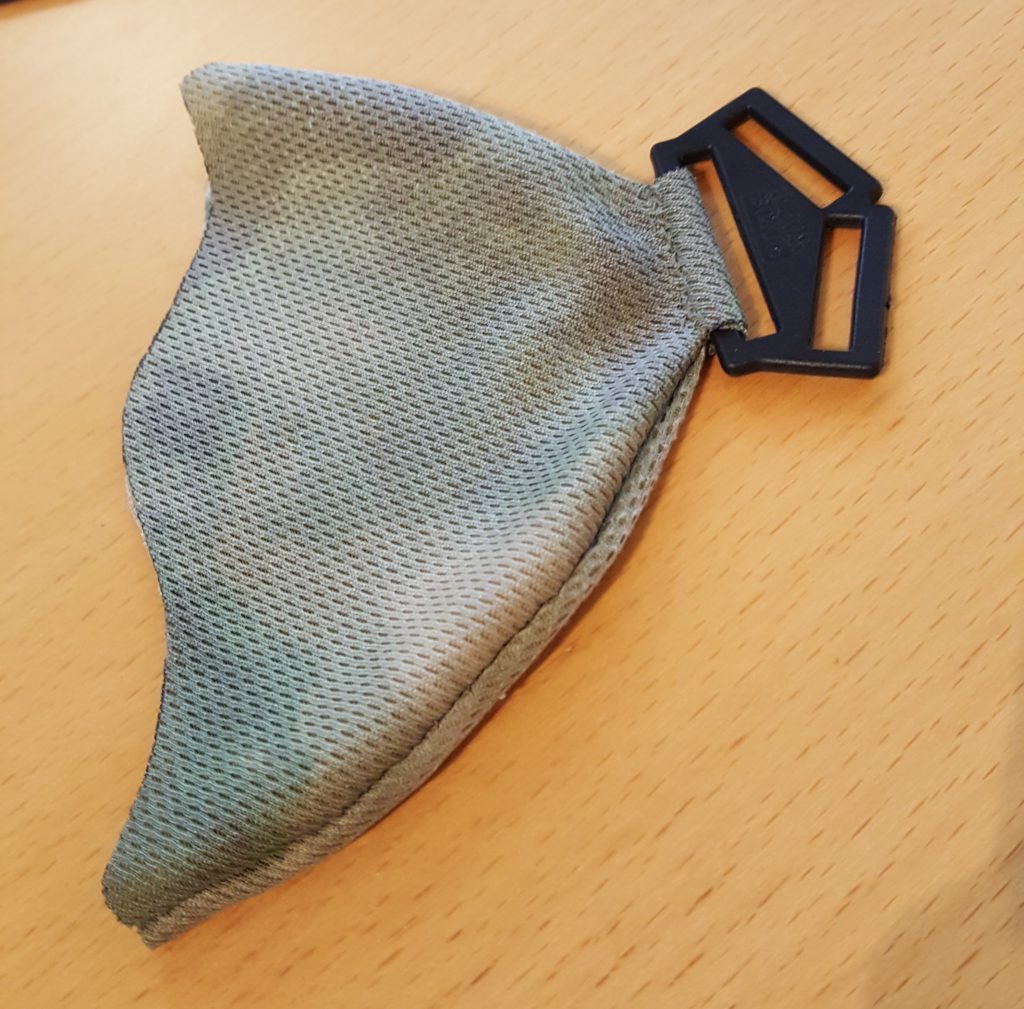
Make sure to keep the lip to the backside of the panel so it will not be visible on the front. This will make for a cleaner mask. Once you are done, it should look something like this:
Step 8: Attaching the panels to the mesh
Now that the clips are attached, it’s time to mount the panels to the mesh mask. A good tip is to iron them gently first as this will make it easier to glue the fabric to the mesh mask.
The trick is to ONLY glue the part that will be attached to the mesh. This will ensure that the parts that touch your face will remain flexible and don’t become stiff from the glue.
In the picture below you can clearly see the outline of the part that has been glued to the mesh.
Let the glue set in overnight. Once this is done, the panel(s) should be firmly attached. We will now sew them together for added strength.
You will want to sew in a complete rotation as shown above. Both the front and lower part where the mesh ends has to be firmly attached.
Once you are done, it should something like this.
All that is left now is to make some sort of attachment system to mount it to your helmet or to keep it stuck to your head. One option is to use the stretch bands that came with the original mask.
Step 9: Final product
Now that everything is finished, you can go out and have some fun with it. Hopefully I can save some teeth with this post! ;-)
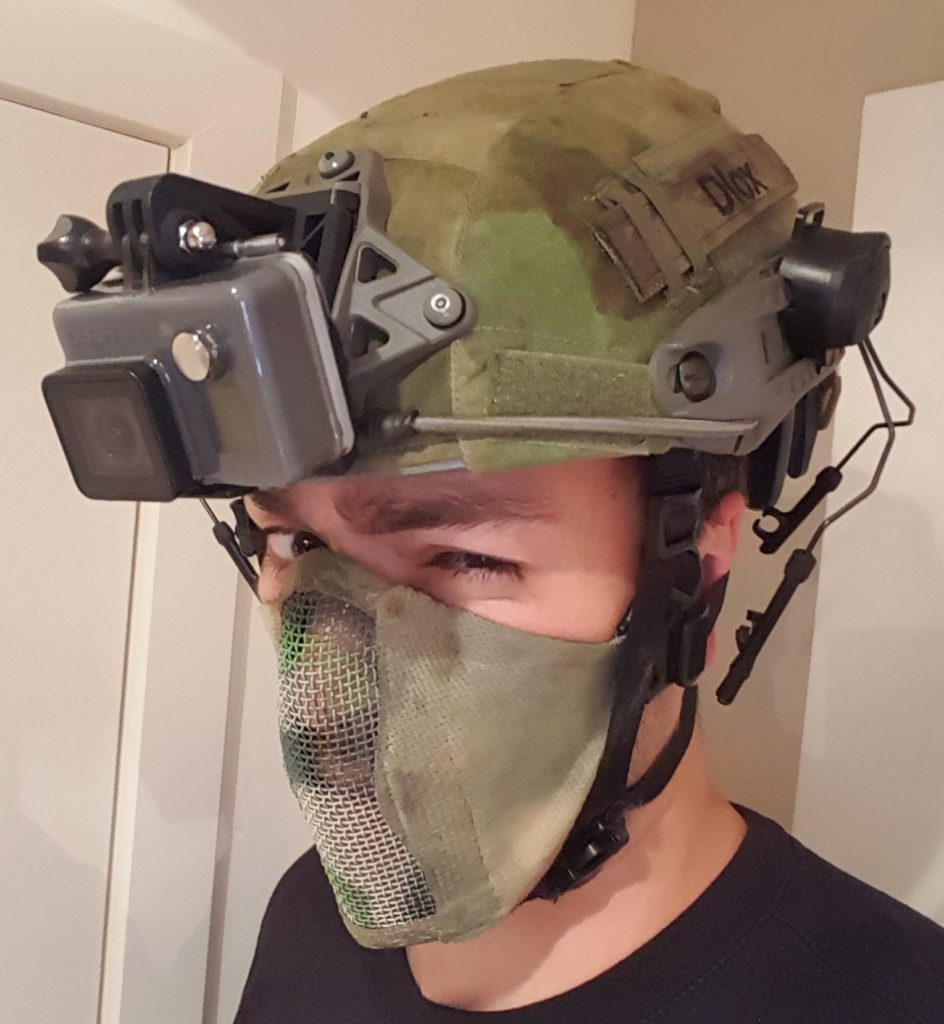
One advantage of this mask is that it will fold down to a neat little package that you can easily store in a pouch on your plate carrier.

And there you have it. Good luck! Post your questions below.
You must be logged in to post a comment.